|
1. Start ASPRunnerPro/PHPRunner.
2. Make all necessary changes to your project and click
Build.
3. Click Publish via
FTP. Built-in FTP client opens.
4. To configure FTP client follow the instructions below.
This is the FTP
information you will need to use:
|
·
|
FTP User Name - your account
username.
|
|
·
|
FTP Password - your account
password.
|
|
·
|
FTP Host Name -
yourdomain.com
|
If you are
missing any of this information, log in to your control panel.
Return to the
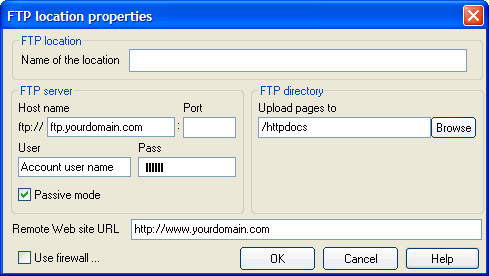
ASPRunnerPro/PHPRunner and type yourdomain.com as a host name, replacing yourdomain.com with your
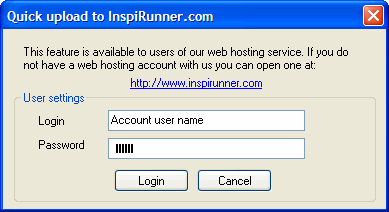
domain name. Enter User name and Password for your InspiRunner.com
account. Then click Browse and
choose the httpdocs site folder.
In the
Remote web
site URL textbox type
http://www.yourdomain.com/, replacing yourdomain.com with your domain name.
Remote Web site URL is used to open downloaded pages in a browser
for test purposes. Click OK.

5. Choose Upload all
files to upload all files generated by
ASPRunnerPro/PHPRunner.
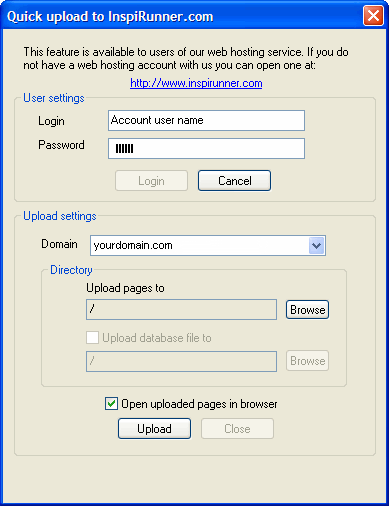
6. Click Upload!
button.
7. Wait while ASPRunnerPro/PHPRunner uploads the project files
to your InspiRunner.com account, then click Close. After that your web site opens
in a browser.
|


